Blueprint
A blueprint defines how transactions are routed and processed. You give it a currency and status, then build routes and route rules for each transaction type (such as Sale or Payout), chain cascades as fallbacks, and apply restrictions like allowed IP countries.
Before you begin
- You have access to the Entities → Blueprints section of the console.
- If you plan to assign a Manager Rate Plan, make sure that rate plan already exists.
Create a blueprint
-
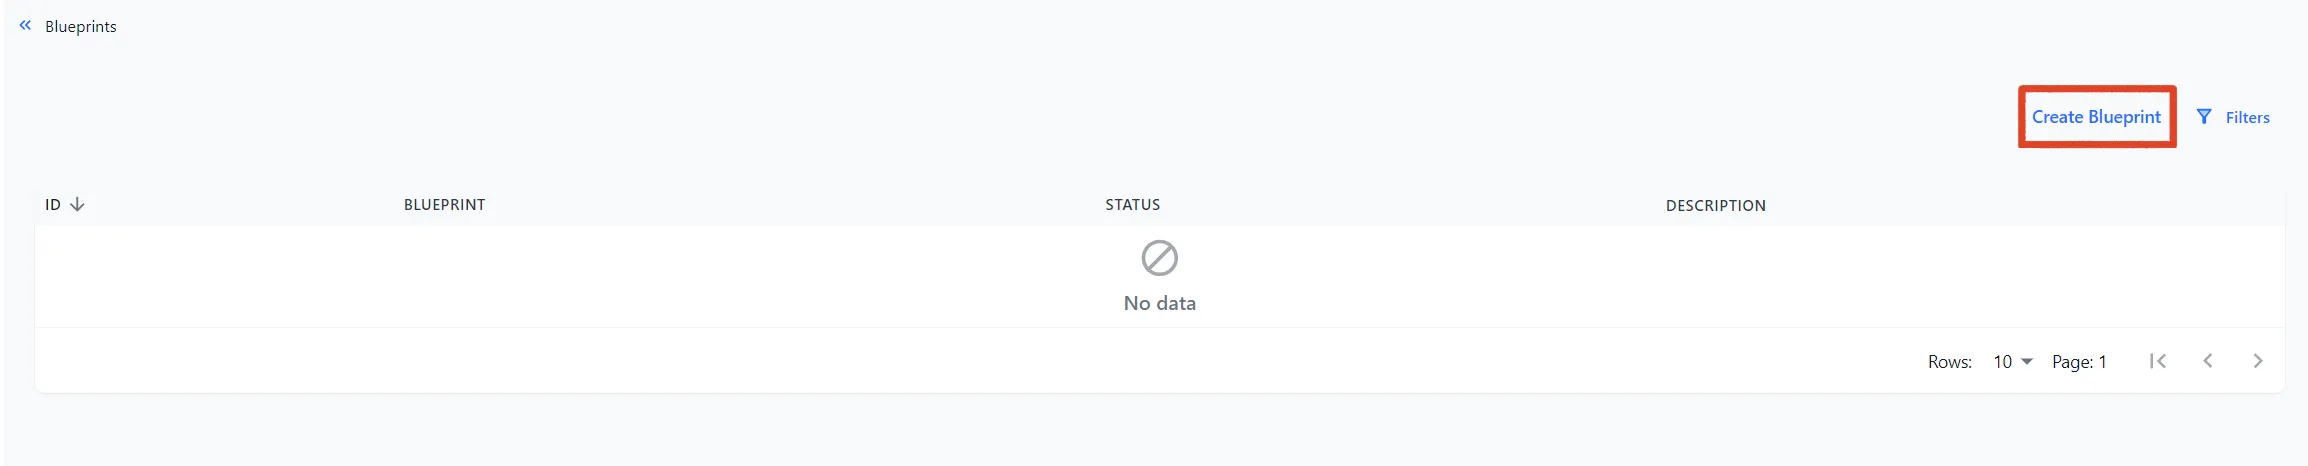
Open Entities → Blueprints and select Create Blueprint in the top-right corner.
-
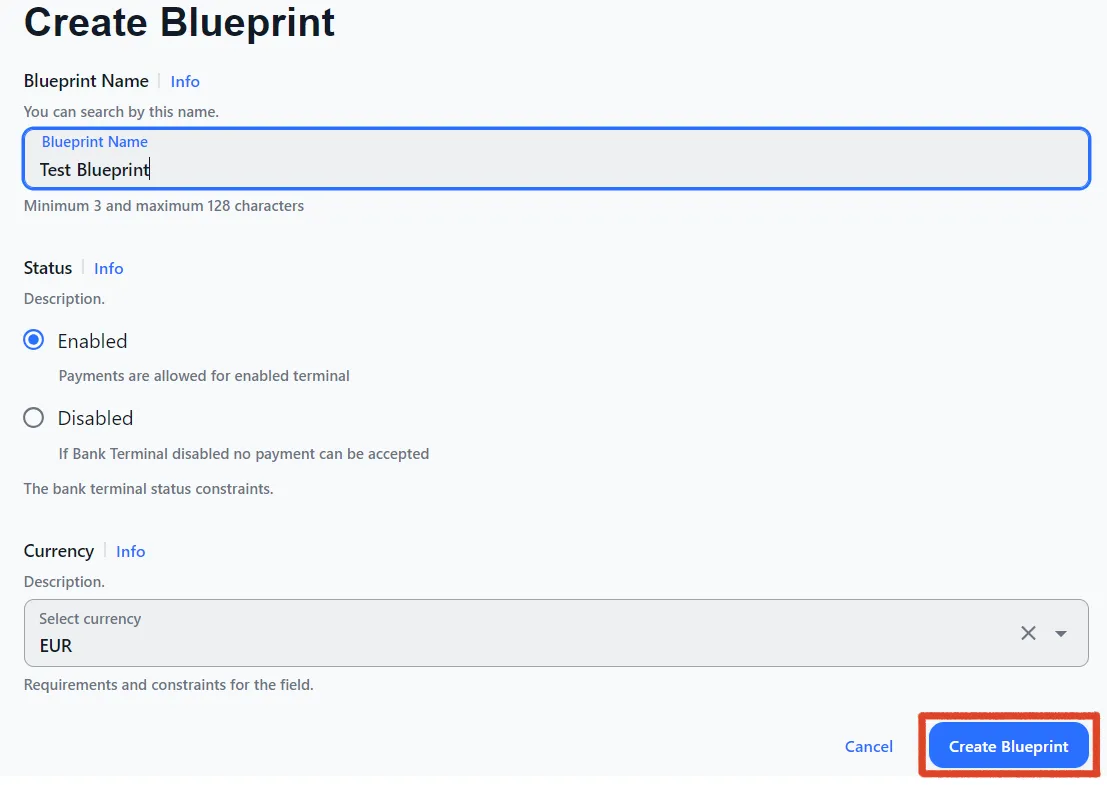
Fill in the blueprint fields (see Blueprint fields below).
-
Select Create Blueprint.
-
On your new blueprint, click its ID to open it and continue the setup.
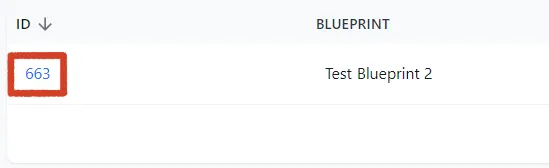
Your blueprint opens on its own page, where you can edit its settings and add restrictions, routes, and cascades.
Blueprint fields
| Field | Required | What to enter |
|---|---|---|
| Name | Yes | A name for the blueprint. Must be unique across all blueprints. |
| Status | Yes | Enabled or Disabled. |
| Currency | Yes | The blueprint’s currency, selected from the list. |
Edit a blueprint
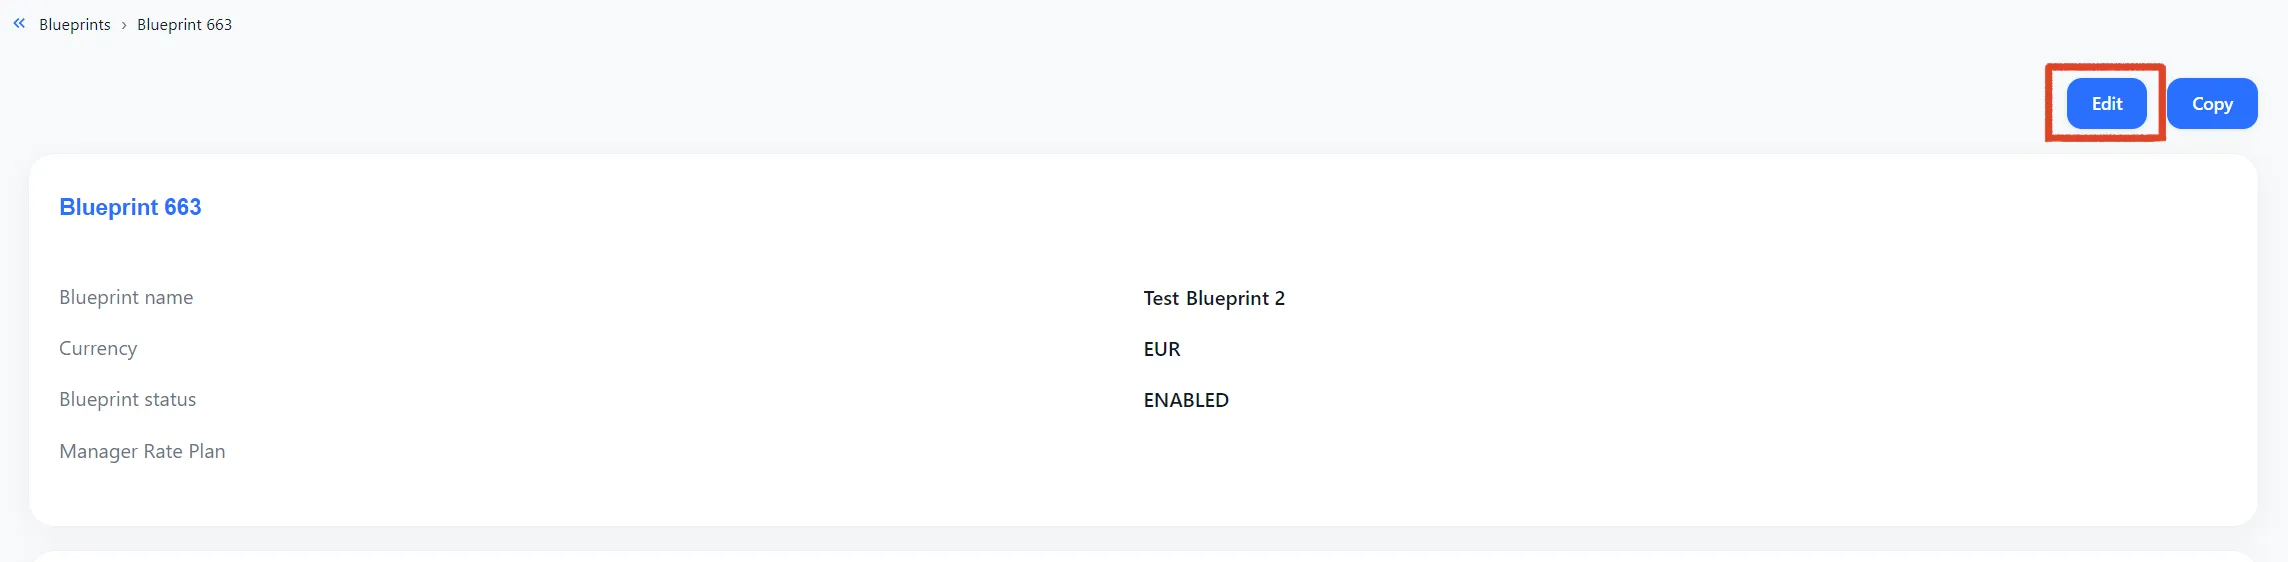
You can change a blueprint’s settings at any time. On the blueprint page, select Edit in the top-right corner.
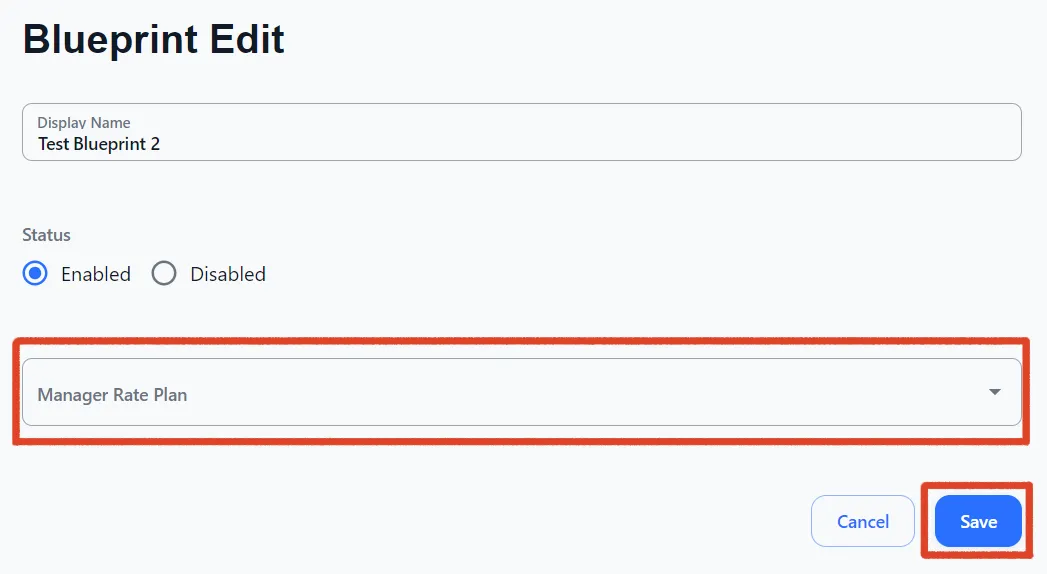
On the Blueprint Edit page you can:
- Change the blueprint name
- Change the status
- Select a Manager Rate Plan
Restrictions
Restrictions limit which transactions a blueprint accepts — for example, by the customer’s IP country. This is where you narrow a blueprint to the markets you actually serve.
-
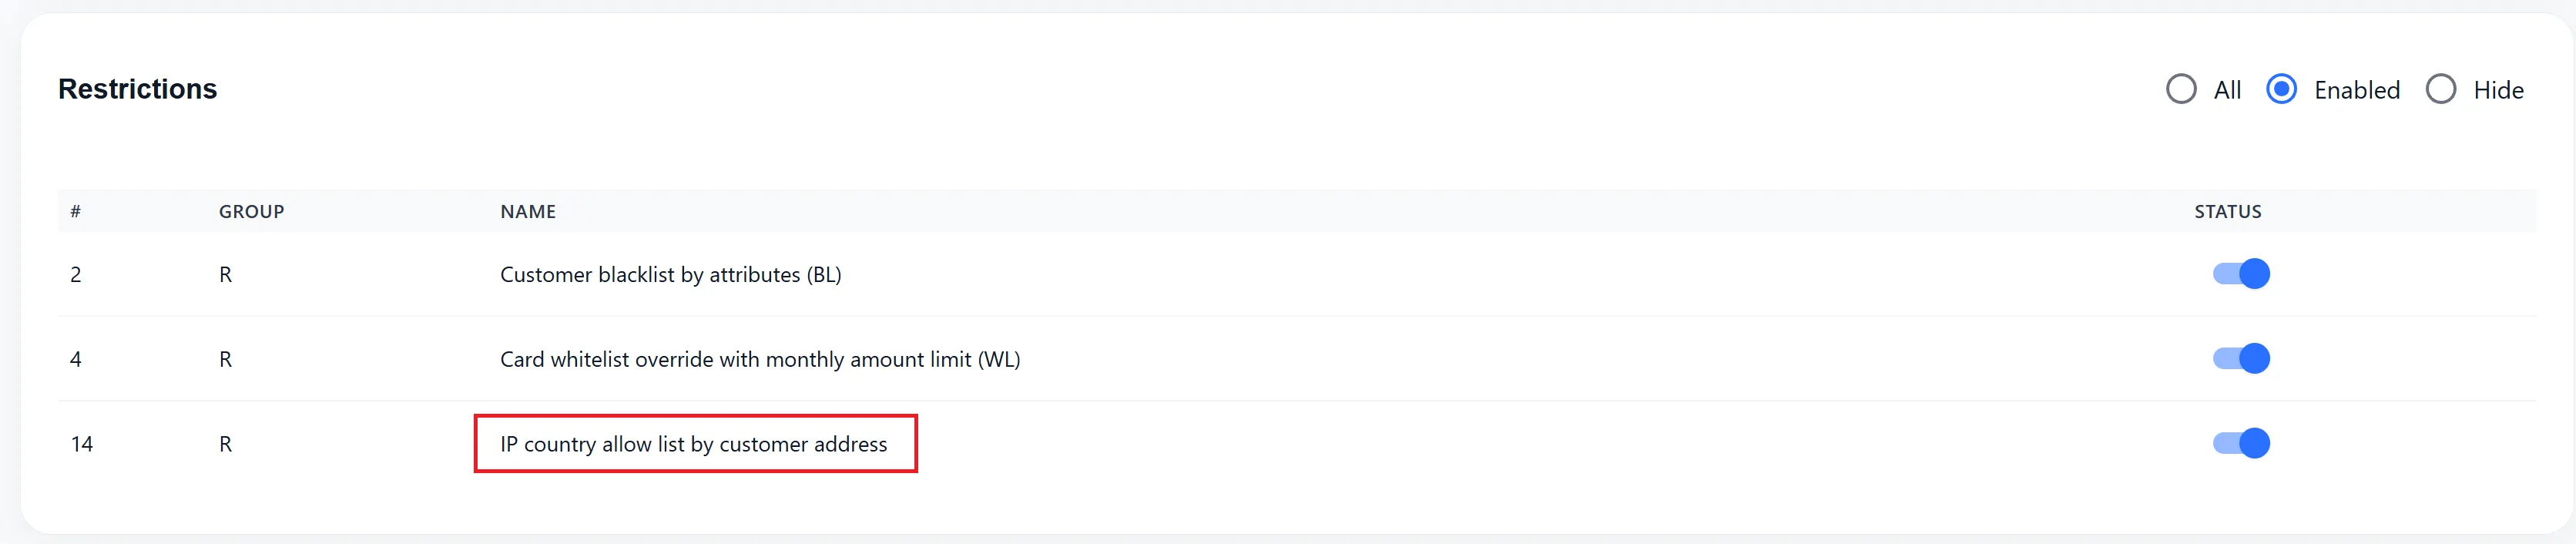
In the Restrictions section, select IP country allow list by customer address.
-
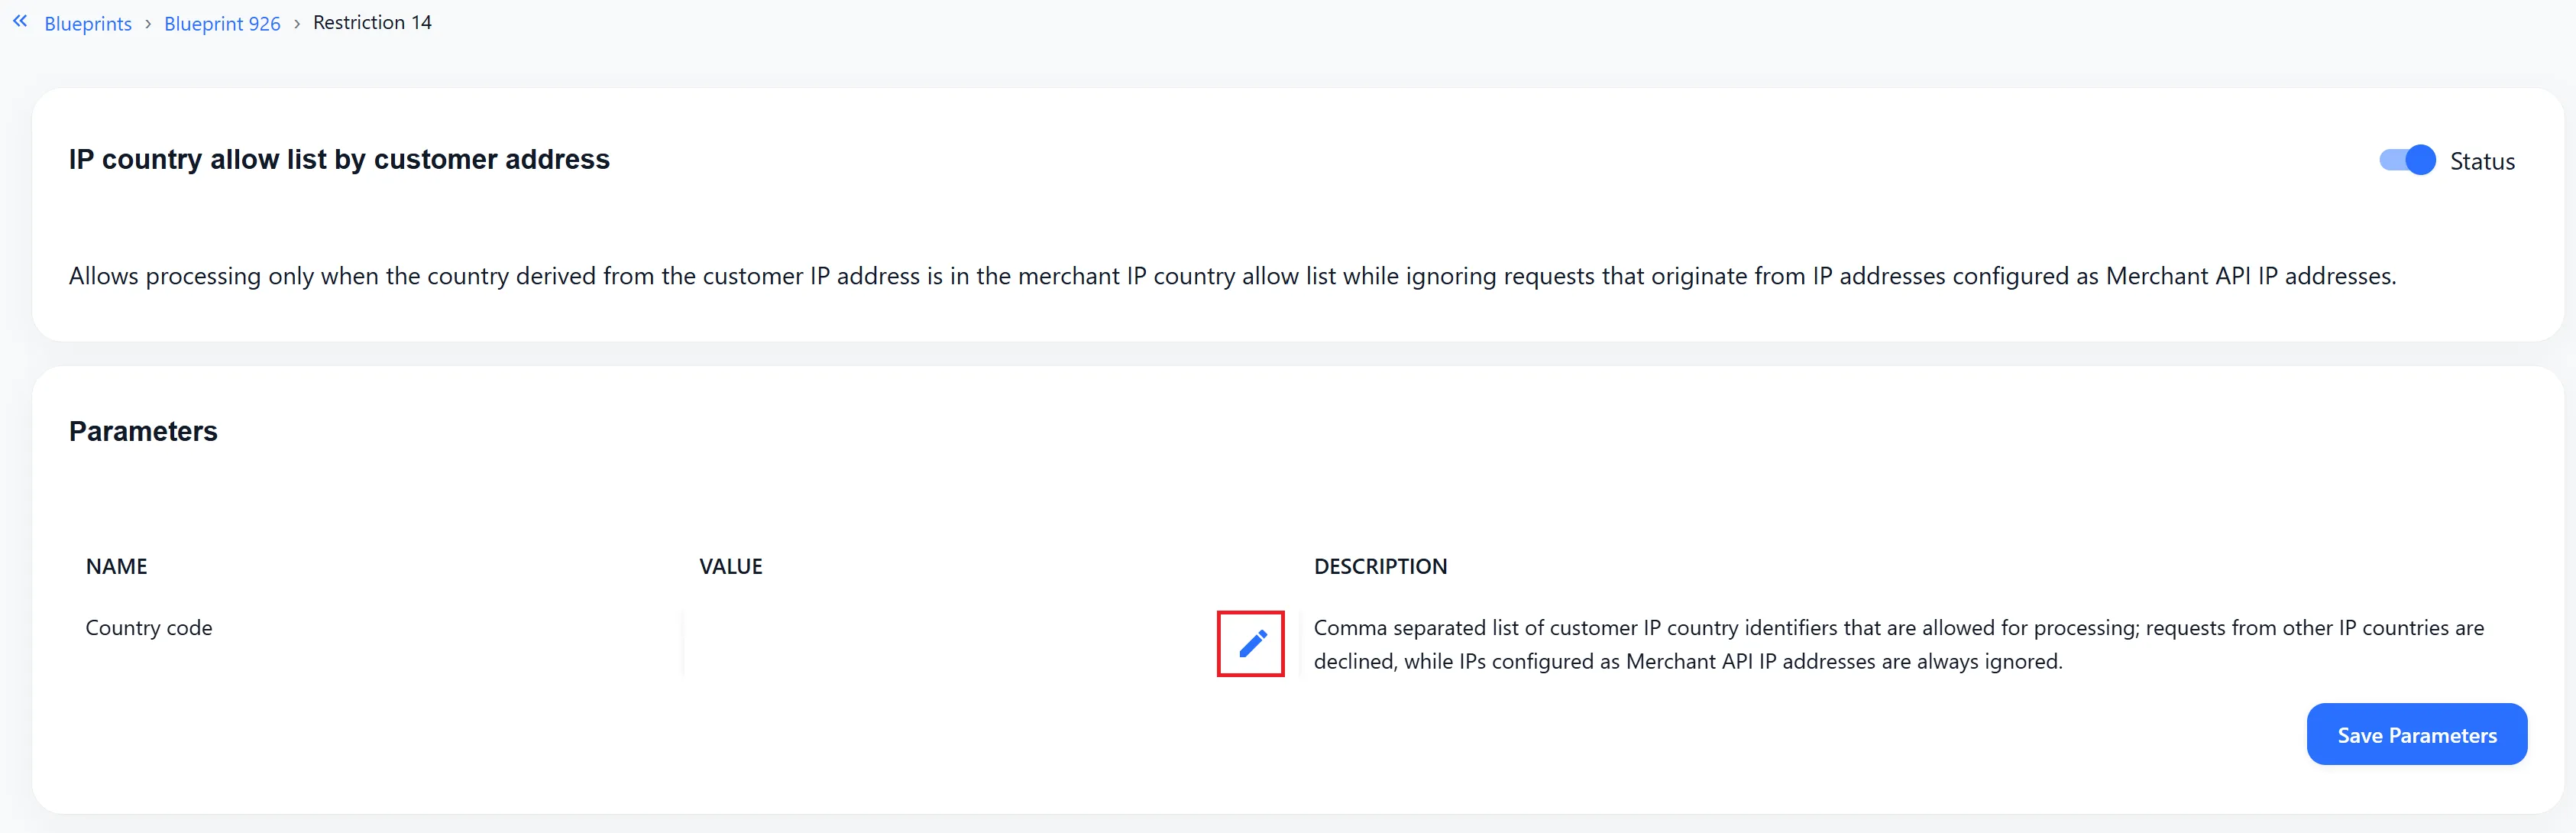
Click the restriction name to open its settings, then select the pencil icon to edit.
-
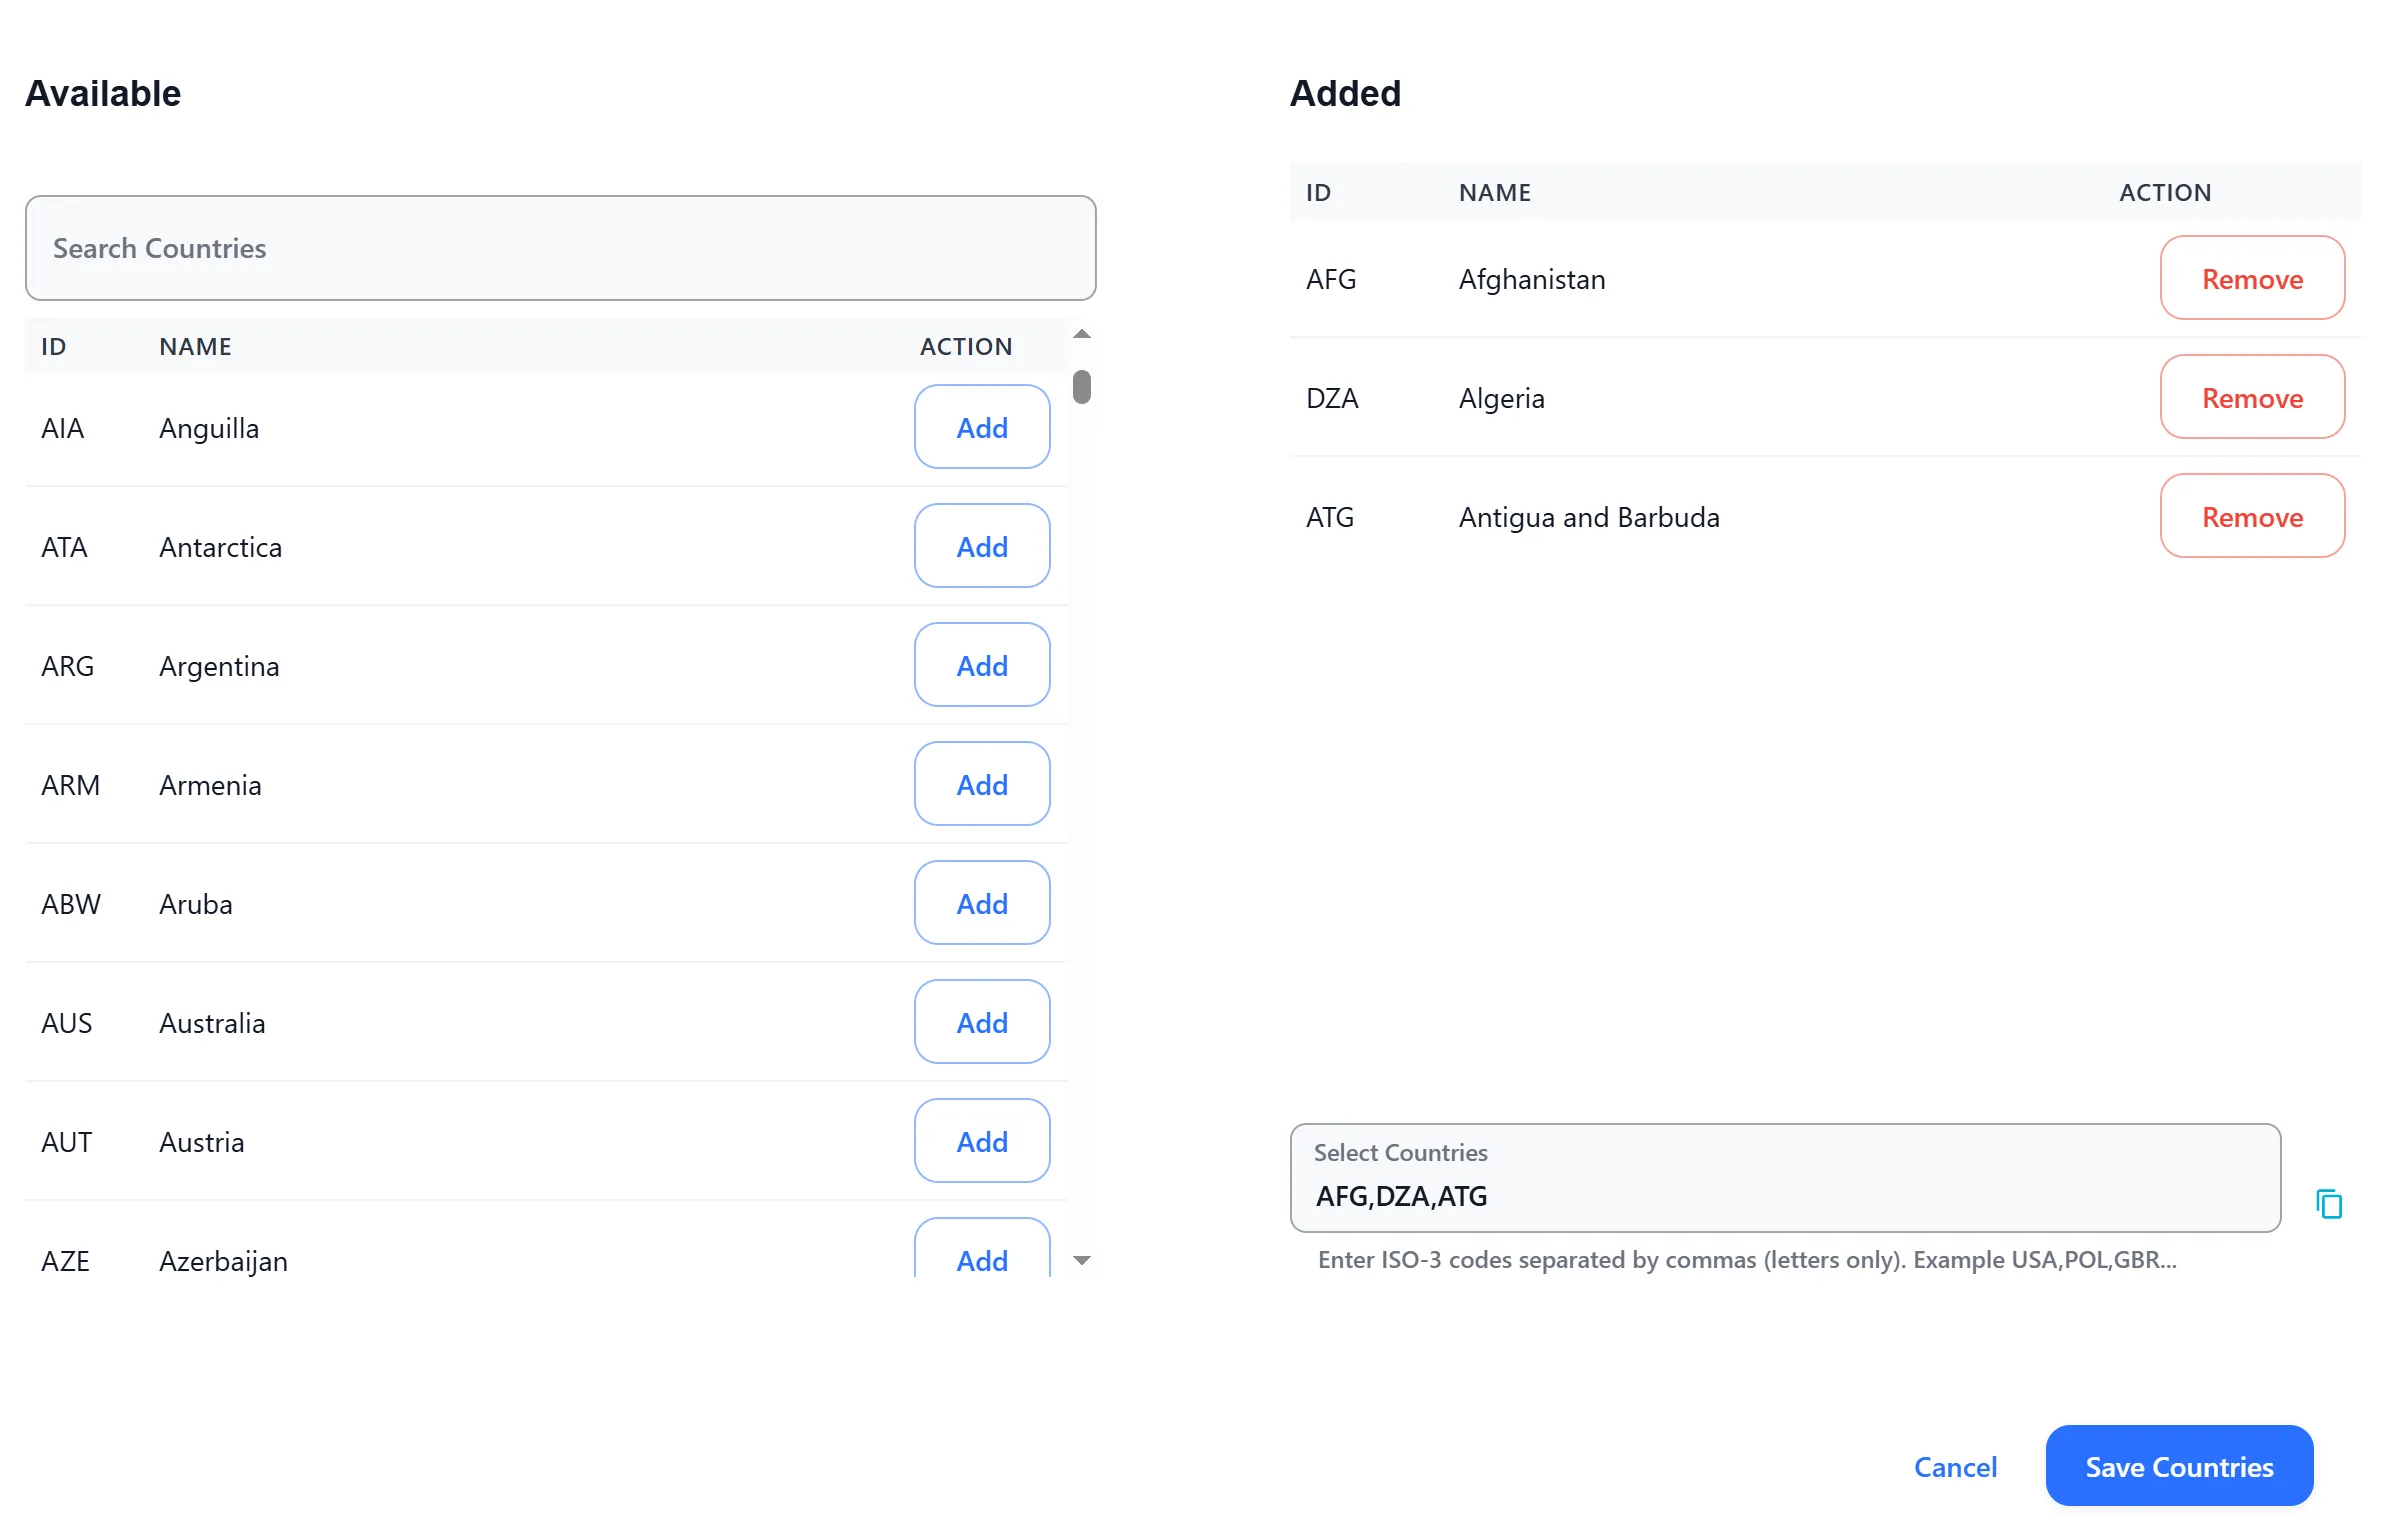
Select the countries you need, then select Save Countries.
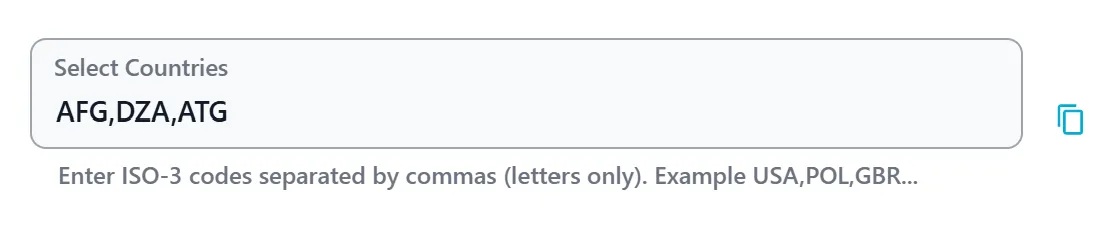
Once saved, the selected countries appear as ISO-3 codes on the Restriction page.

Create a route
A route determines where matched transactions go. You build routes per transaction type using route rules, so each type can follow its own path.
-
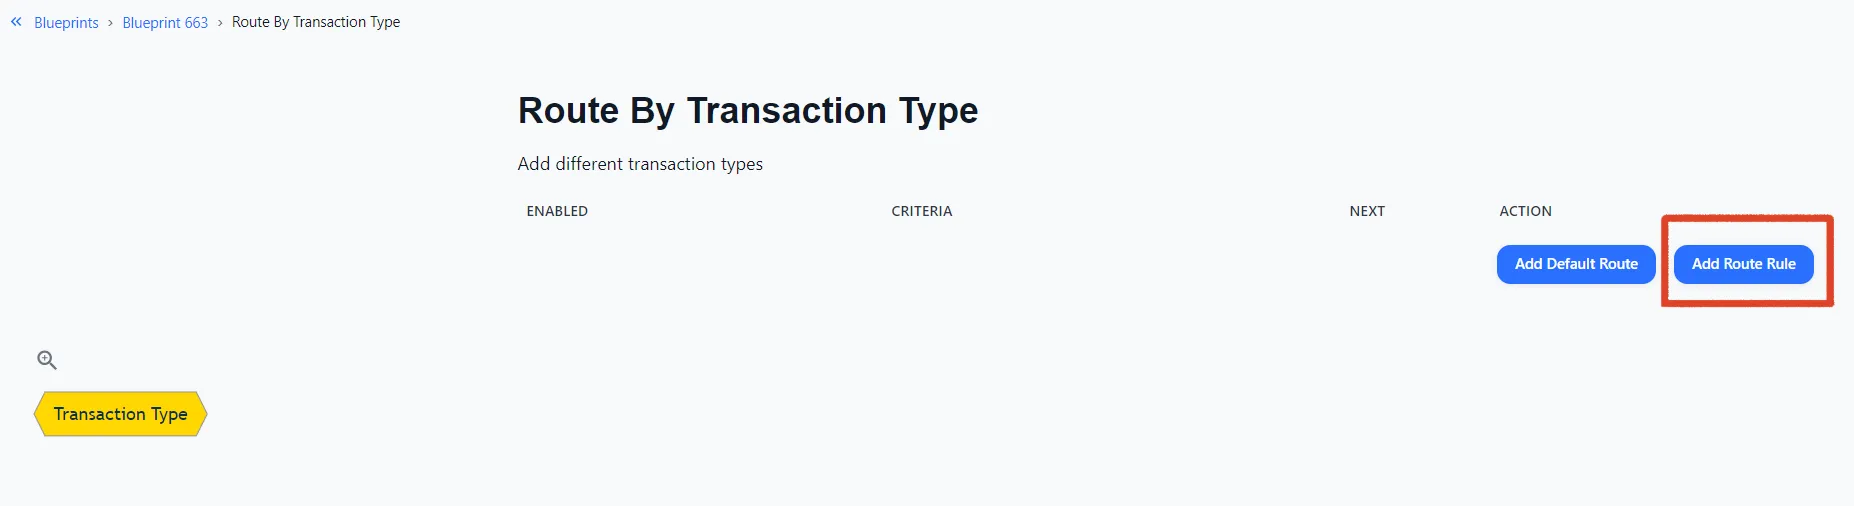
In the bottom-left corner of the blueprint page, select Create Route.
-
Add the default Route or create your own.
-
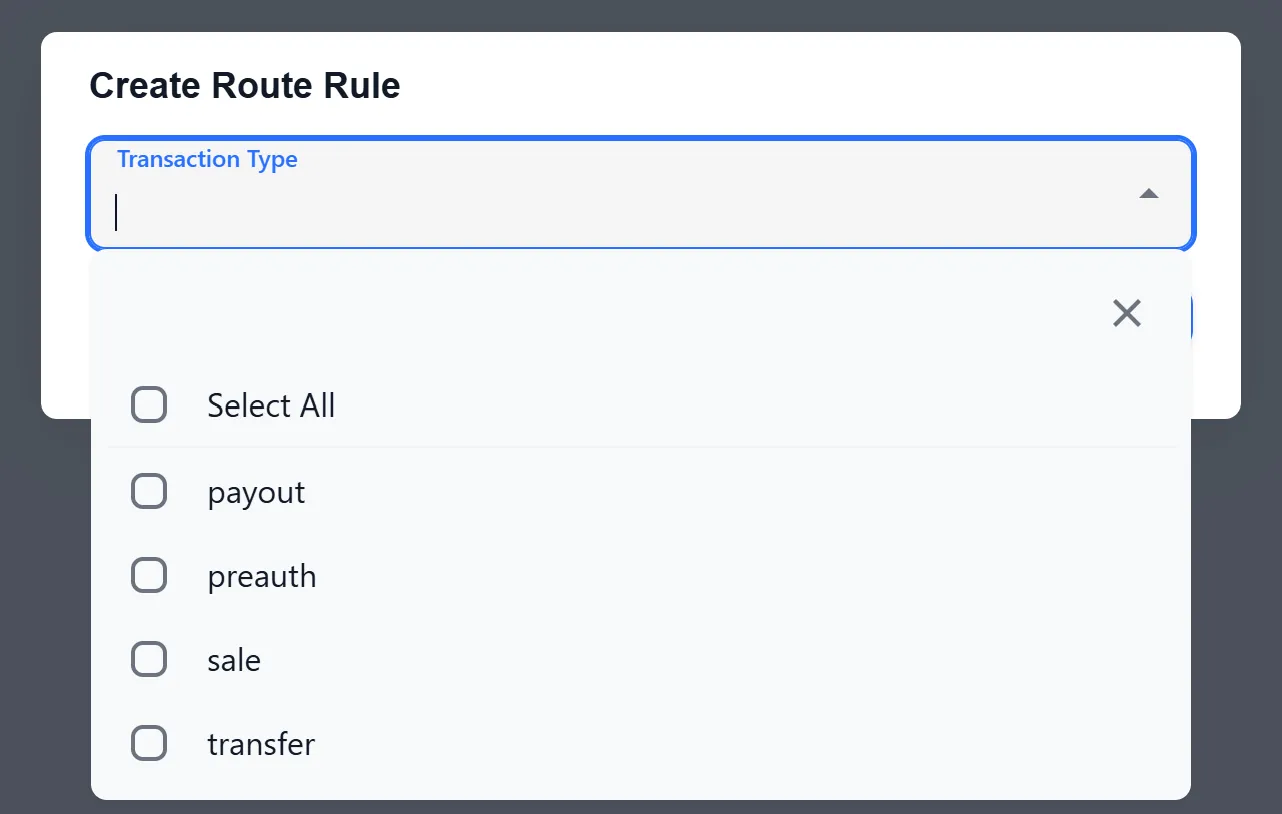
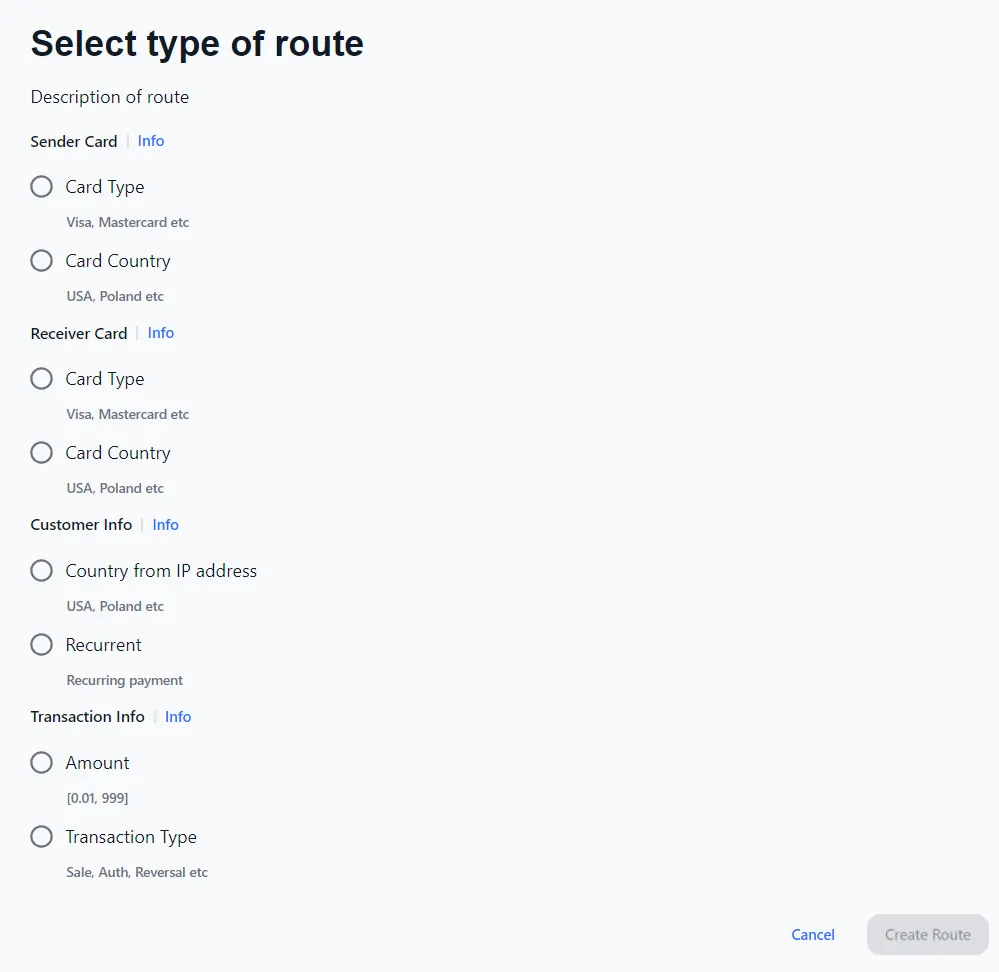
Select Create Route Rule and choose a rule from the list.
-
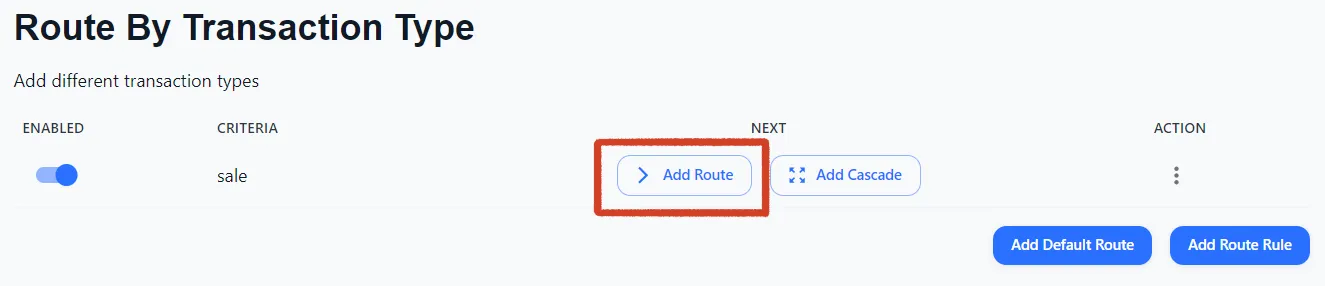
Select the transaction type, then select Add Route.
Available route rules:
- account verification
- Payout
- Preauth
- Sale
- Transfer
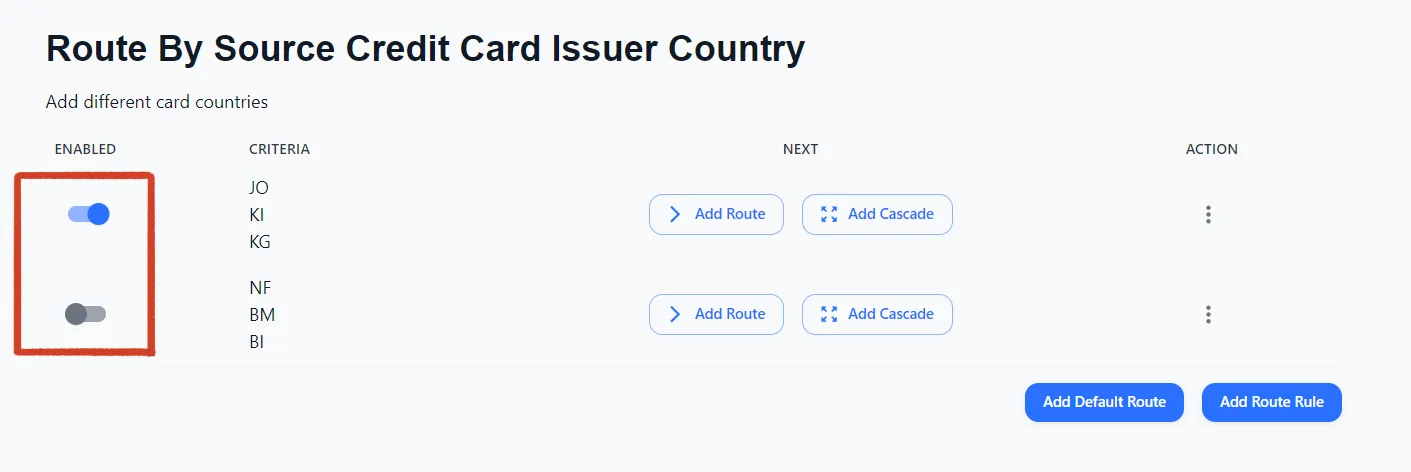
To edit or delete route links, use the Action button.

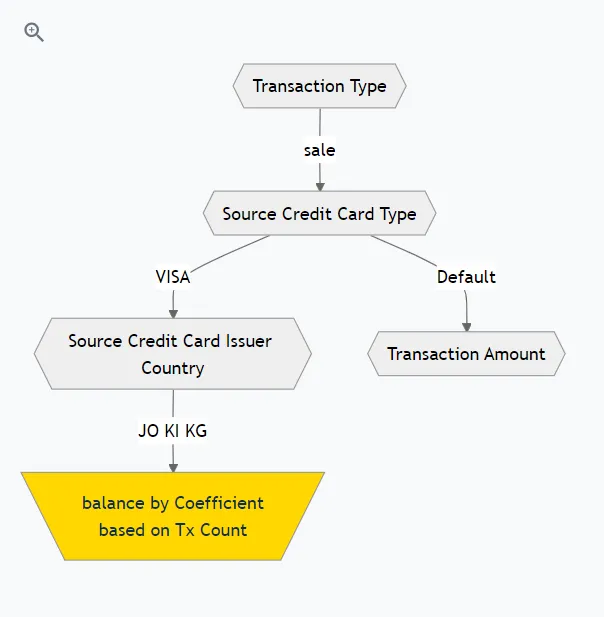
You can keep extending the scheme and switch between transaction types to configure each one.
Create a cascade
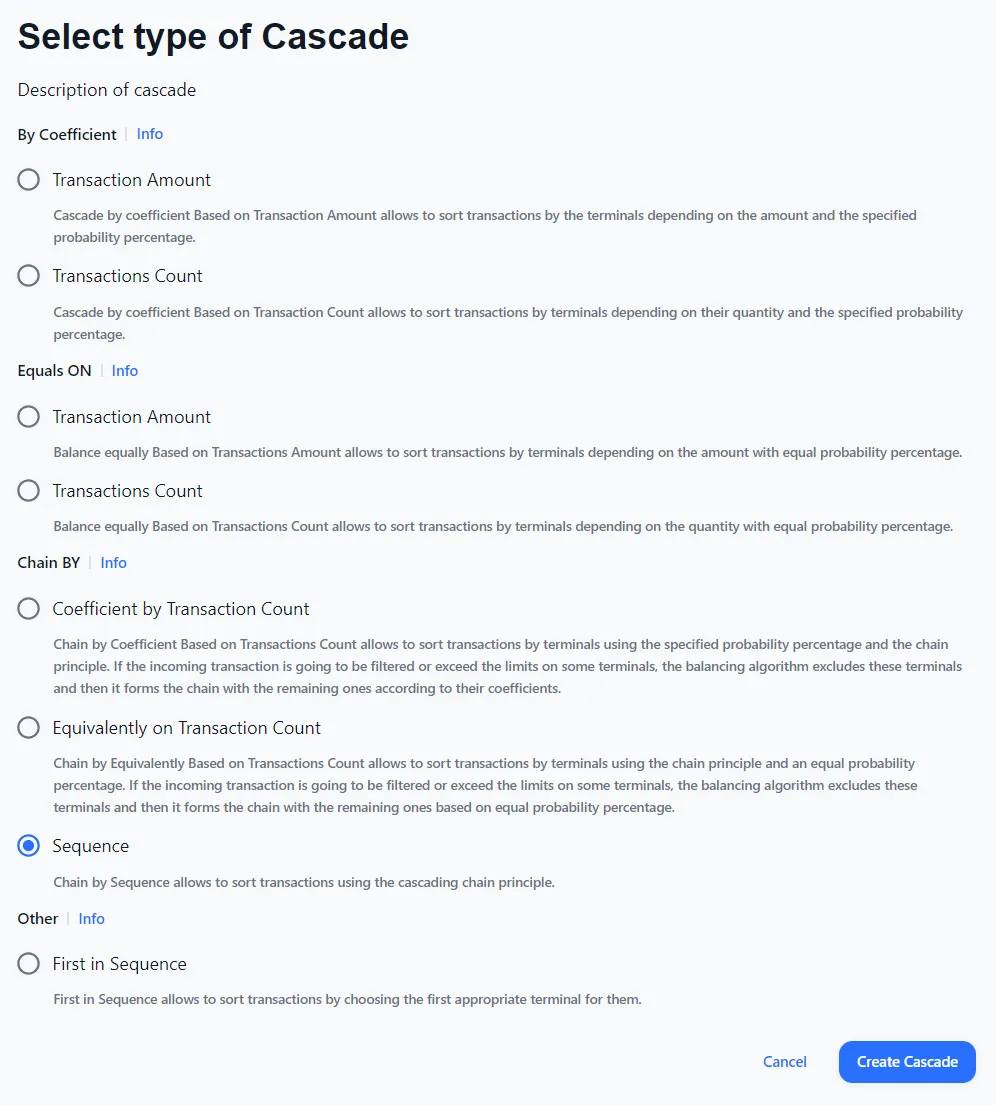
A cascade chains attempts within a route rule, so if one path fails the transaction falls through to the next. Add a cascade to a route rule to build that fallback order.
-
In the Route Rule, select Create Cascade.
-
Choose the cascade type from the list, then select Create Cascade.
Troubleshooting
| Problem | What to do |
|---|---|
| Create Blueprint stays inactive | Check that the required fields are filled in — a unique name and a selected currency. |
| The blueprint name is rejected | Names must be unique across all blueprints — choose a different one. |
| Saved countries don’t appear on the Restriction page | Reopen the restriction and confirm you selected Save Countries after choosing the countries. |
| A route rule is active when it shouldn’t be | Set its status to Disabled instead of deleting the route. |