
Requestor
A requestor is the entity that sends payment operations — sales and payouts — to the platform on behalf of a merchant. This guide covers creating one, generating integration tokens, and configuring its processing settings.
Before you start
You’ll need access to the console with permission to manage entities, the merchant this requestor belongs to already created, and the Blueprint you want to apply — the Blueprint defines the requestor’s default configuration and links it to a plan.
Create a requestor
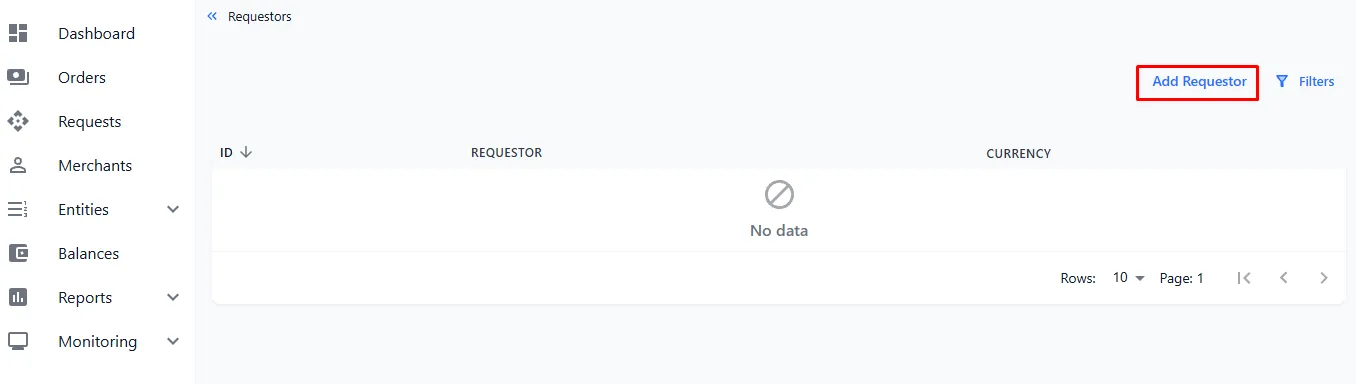
Requestors live under Entities → Requestors. That screen lists every requestor for the merchant and is where you’ll search and edit them later.
-
Open Entities → Requestors and click Add Requestor in the top-right corner.
-
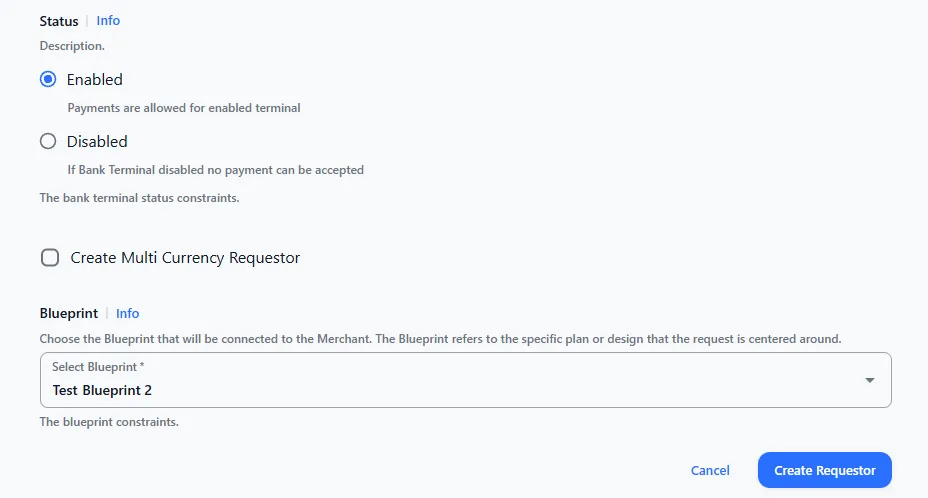
Fill in the form. Only four fields are required — name, merchant, status, and blueprint; the rest are optional. Each field has an Info link that opens its exact requirements on the right.
-
Click Create Requestor.
Fields
| Field | Required | What to enter |
|---|---|---|
| Name | Required | 3–128 characters. Must be unique within the merchant — duplicates are rejected. Indexed for search, so keep it clear and descriptive. |
| Description | Optional | 3–512 characters. Also indexed for search. |
| Merchant | Required | The merchant this requestor belongs to. |
| Status | Required | Enabled allows payments; Disabled blocks all operations until switched back on. |
| Blueprint | Required | The plan/configuration template connected to the merchant. |
| Create Multi‑Currency Requestor | Optional | Check only if you already have per-currency requestors and want to combine them into one multi-currency requestor. |
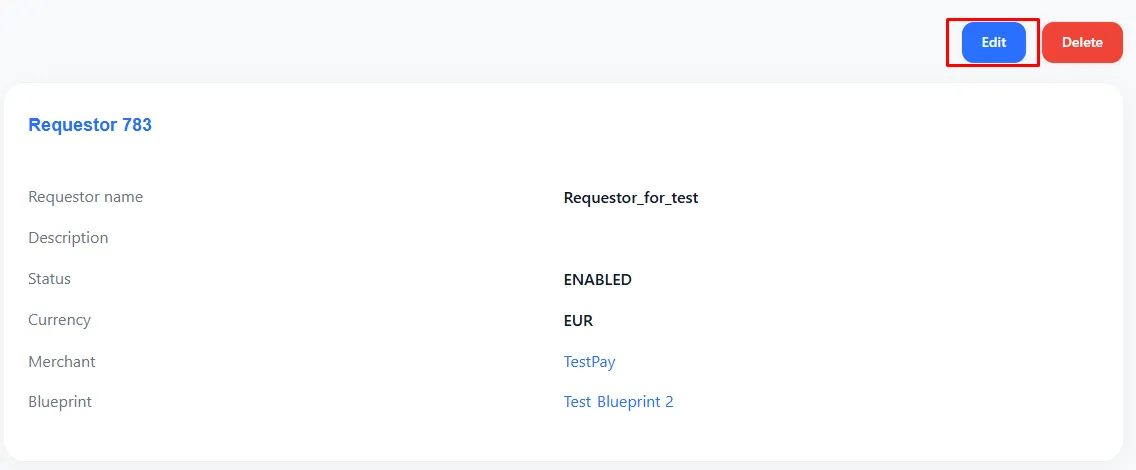
After creation, the requestor’s detail screen opens, where you can add tokens, balances, and processing settings. To change the details later, click the Edit button.
Requestor Balances
Balances are optional and created with the assistance of our technical support team, after which you can edit and manage them independently. Their behaviour differs by operation type:
- Sales: the balance shows the amount of sales minus the commission and does not restrict operations — it’s informational.
- Payouts: the balance can be used to limit operations, preventing the provider’s account from going negative.

Token generation
Tokens are how external systems authenticate as this requestor. Each token carries its own type, the operations it may perform, and the hosts allowed to use it — so create one token per integration purpose rather than reusing a single broad one.
-
On the requestor screen, click Add token and select the token type for your integration:
Token type Use it for Bearer token Sales Transfer key Payouts Praxis key Integration with Praxis / PIQ Redirect token Redirects 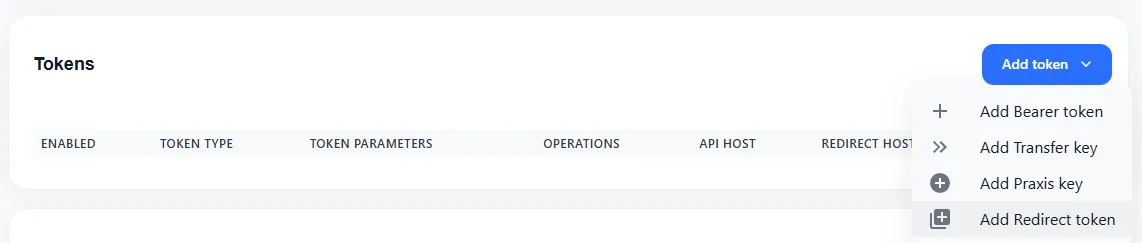
-
Choose the operation types the token may perform and the Hosts allowed to use it. Grant only what the integration actually needs — this is the token’s security boundary.
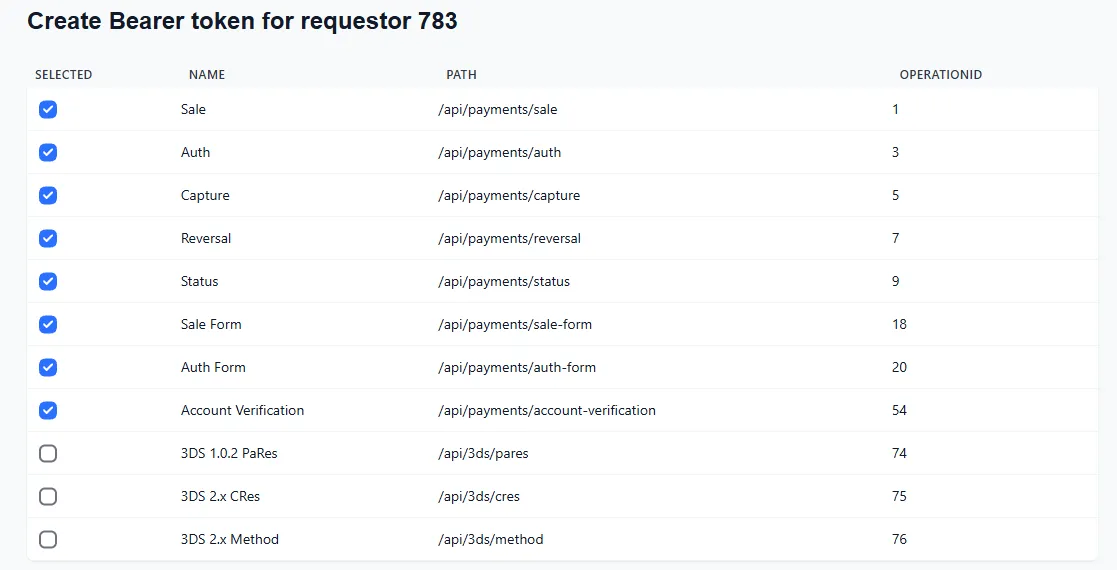
-
Under Bearer token creation mode, choose Generate new for a fresh token, or Copy from merchant to reuse the merchant’s token (which makes every token identical across the merchant). Then click Save Token.
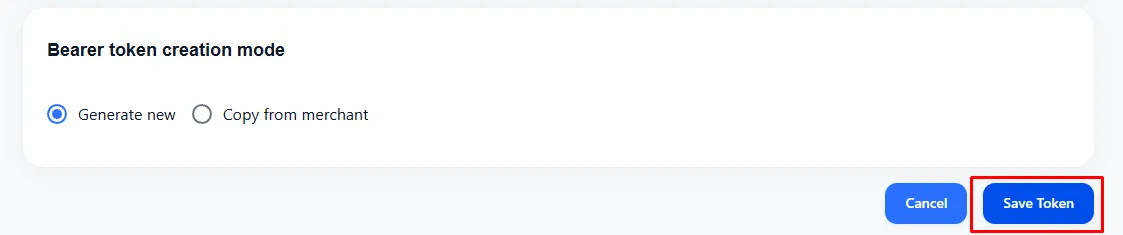
Editing Tokens
All tokens sit in the Tokens section of the requestor screen. From there you can:
-
Copy — click the copy icon in the token value field.
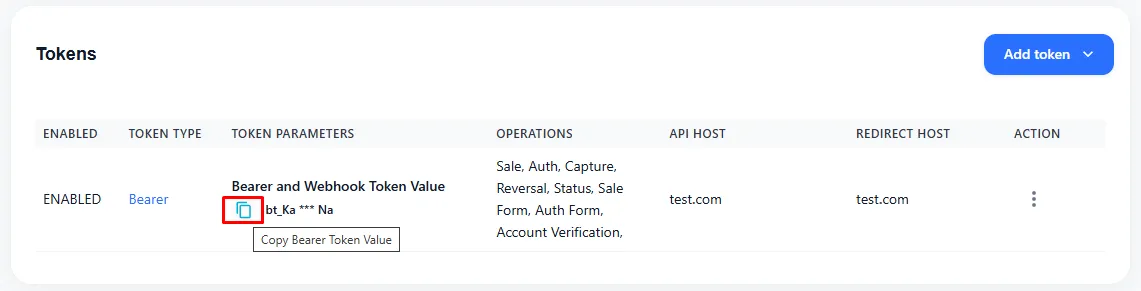
-
Edit — click the token type in the TOKEN TYPE column, adjust its operation types or hosts, choose whether to keep the same token or copy from the merchant, then click Save Token.
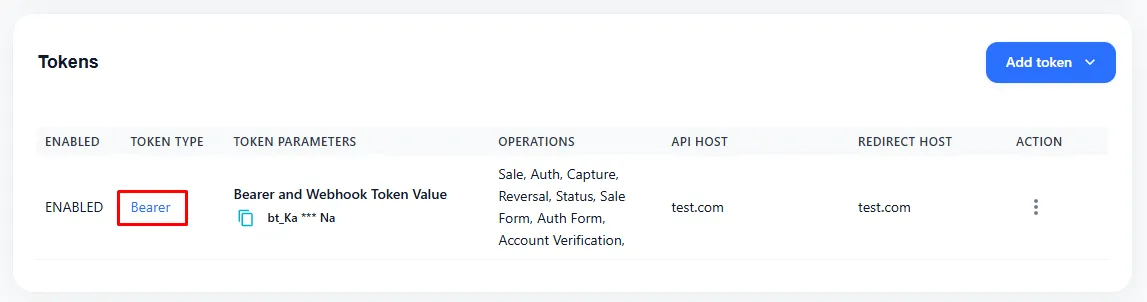
-
Delete — click the three dots in the ACTION column and select Delete Token.
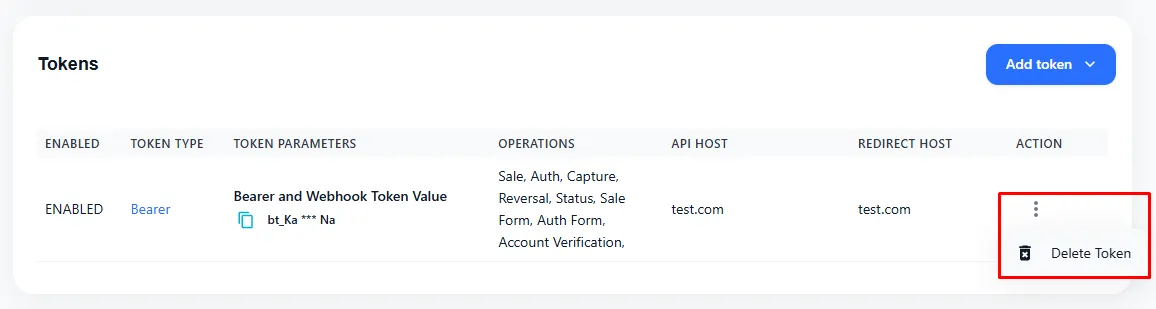
Attributes
Transaction processing settings
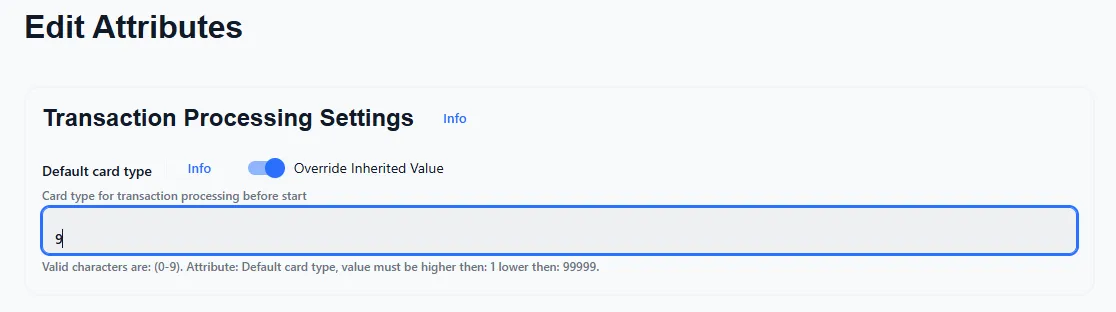
This section matters only if you work with providers that use their own forms — Open Banking, Google Pay, or Apple Pay. Setting a card type ID tells the platform to skip its own card request and go straight to the selected card type.
-
In the Transaction Processing Settings section, click the Info button to see the ID for each payment system, then click Edit.

-
Enter the card type ID and click Save at the bottom of the page.
Merchant customer generator
Holds custom settings for specific cards. These are advanced — contact our technical support for a consultation before changing anything here.
Troubleshooting
| Problem | What to do |
|---|---|
| The Create Requestor button stays disabled. | All four required fields must be filled: name, merchant, status, blueprint. |
| The name is rejected or “already exists”. | Names must be unique within the merchant and 3–128 characters. Choose a different one. |
| The requestor won’t process operations. | Confirm its status is Enabled and that a token exists with the right operation types. |
| An integration suddenly stopped working. | Check whether its token was edited or deleted, or its allowed hosts/operations changed. |
| You need custom card settings. | Contact technical support before editing the merchant customer generator. |