
Merchant
A merchant represents a business whose transactions you process. This page covers viewing a merchant’s details, adding a new merchant, and editing an existing one.
Before you begin
- You have access to the Merchants tab in the console’s left menu.
Add a merchant
-
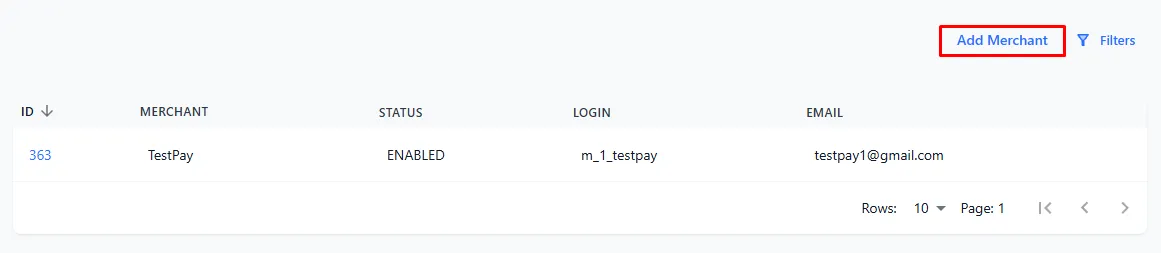
Open the Merchants tab and select Add Merchant.
-
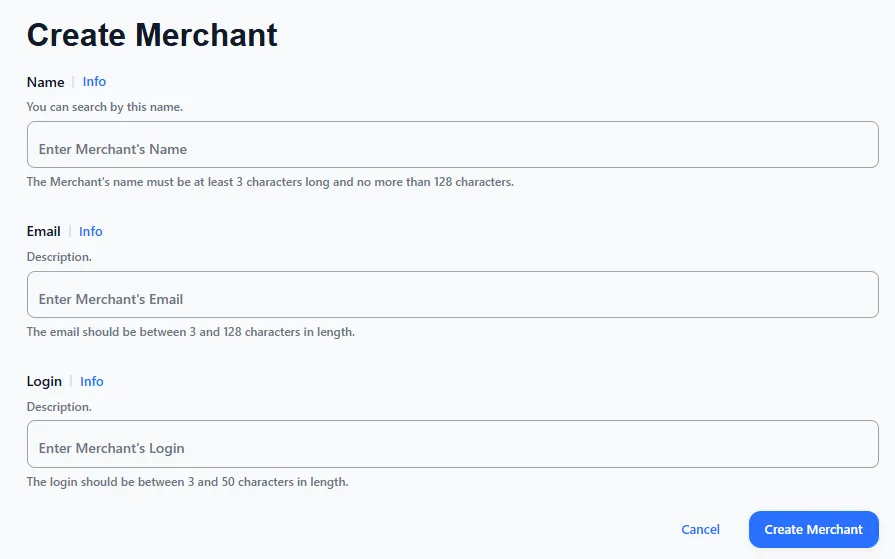
Fill in the merchant’s details in the window that opens (see Merchant fields below).
-
Select Create Merchant.
-
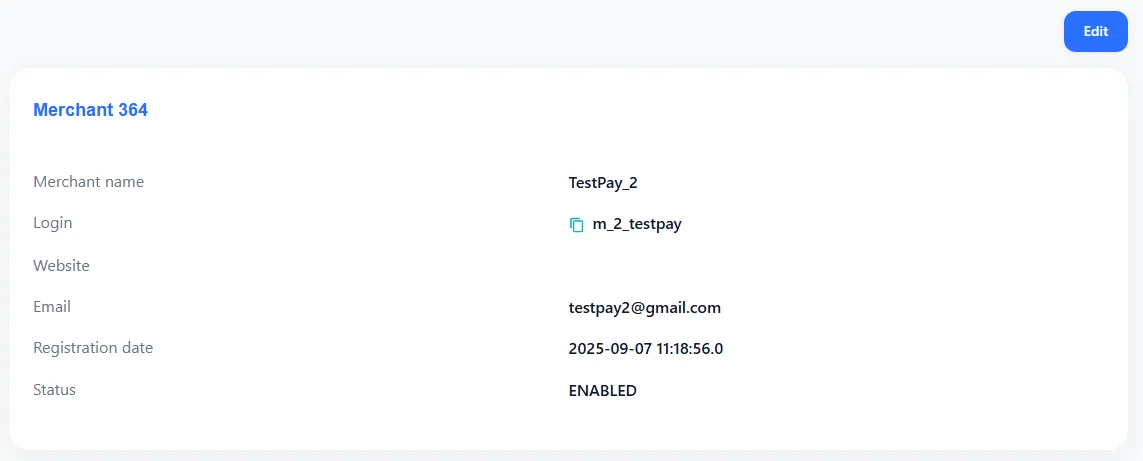
The new merchant’s card opens with its details.
Merchant fields
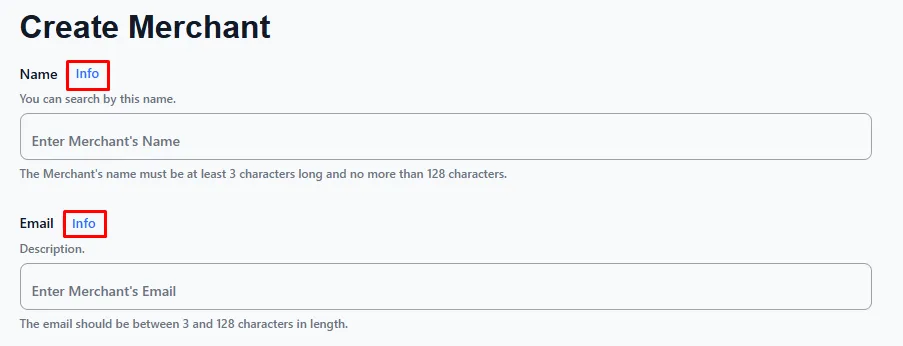
Select the Info button next to any field to see a description of what it expects.
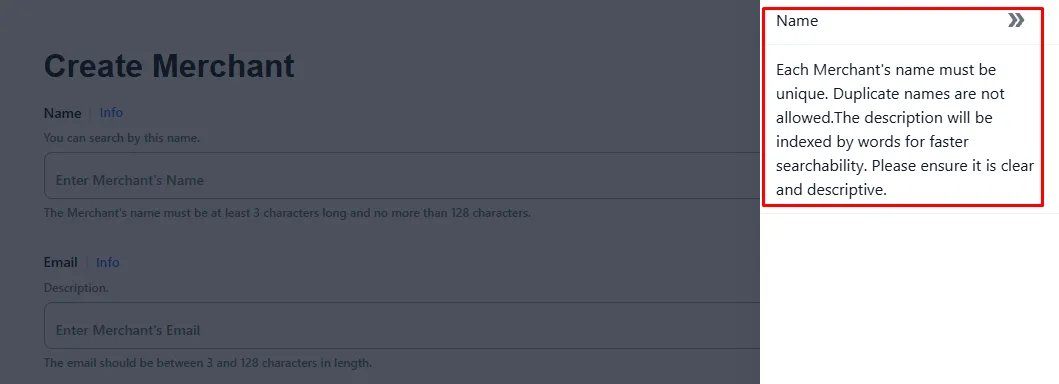
| Field | Required | What to enter |
|---|---|---|
| Fill in each field from the Info panels above |
View a merchant’s details
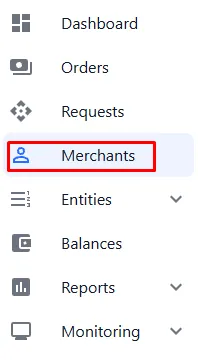
Open the Merchants tab to see the list of merchants, then select a merchant’s row to open its details.
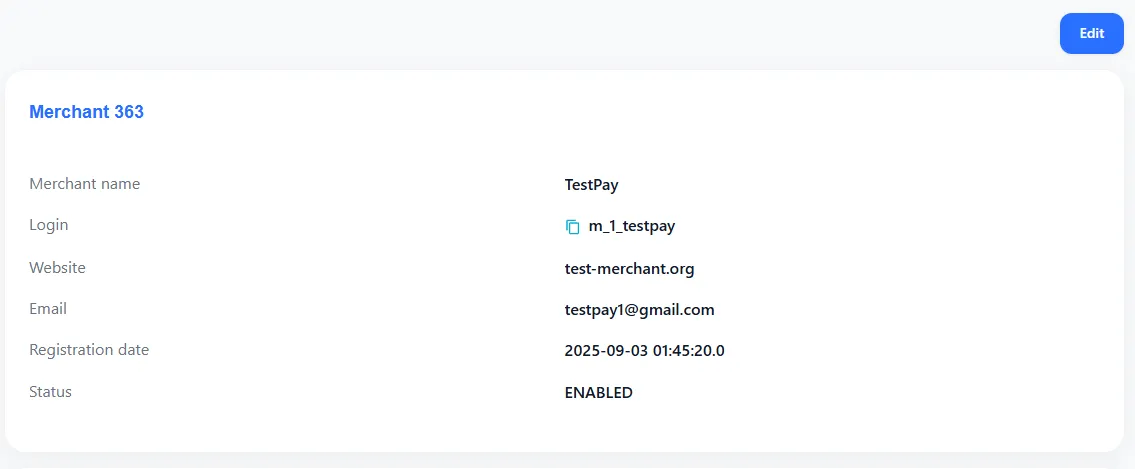
In the details, you can review or provide integration tokens in the User Token and Default Tokens sections.
Edit a merchant
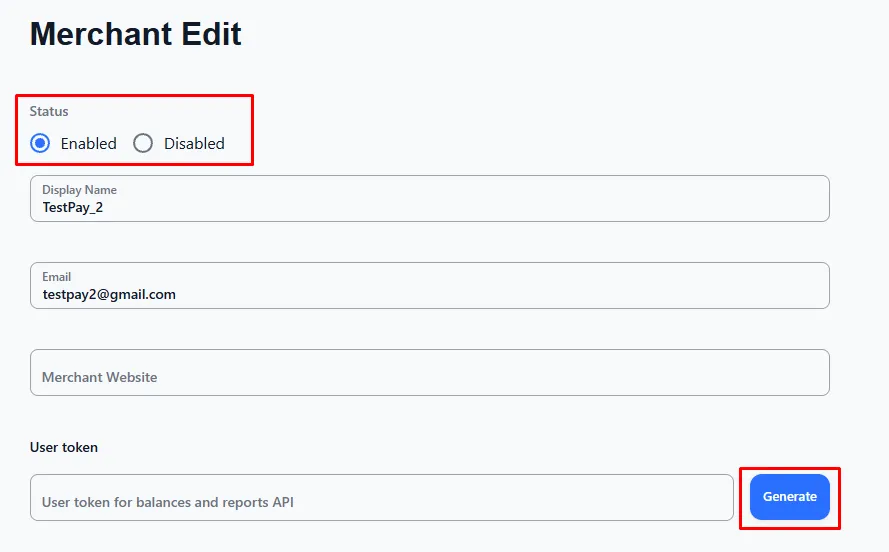
On the merchant’s card, select Edit.
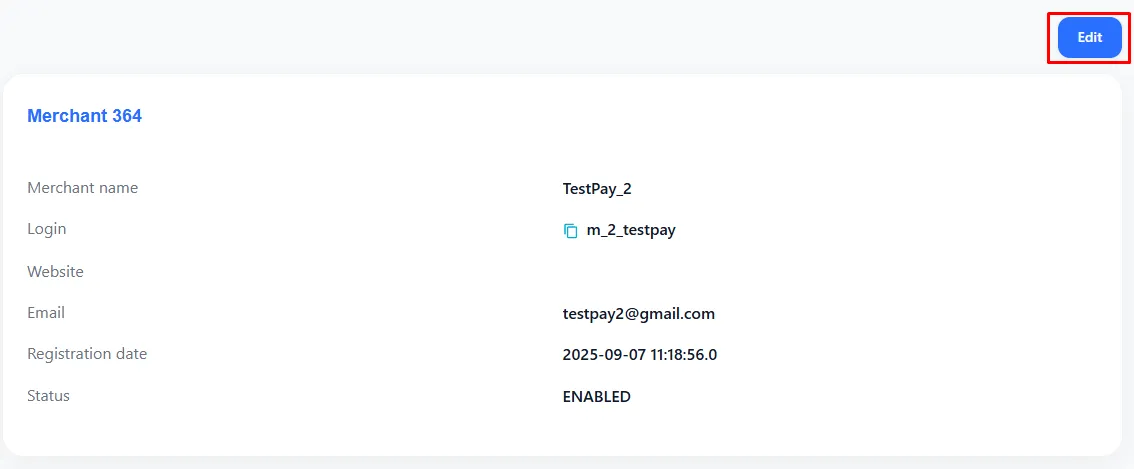
In the editing window you can:
-
Change the status to Enabled / Disabled.
-
Specify the merchant’s website.
-
Create a User Token.
-
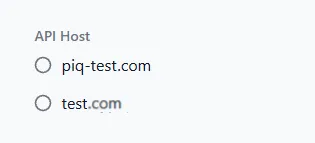
Specify the API Host.
-
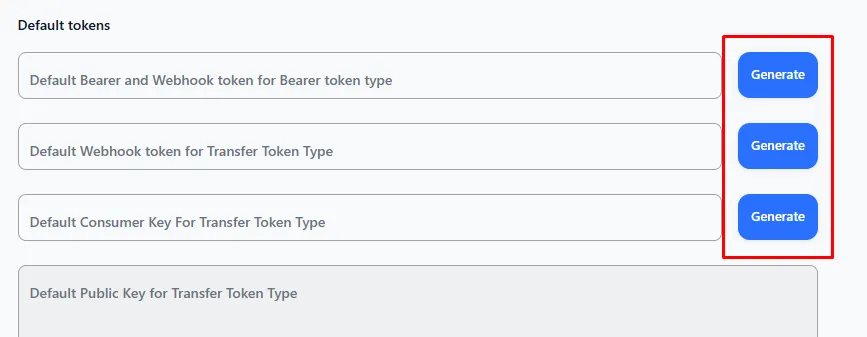
Generate or specify tokens for the merchant.
-
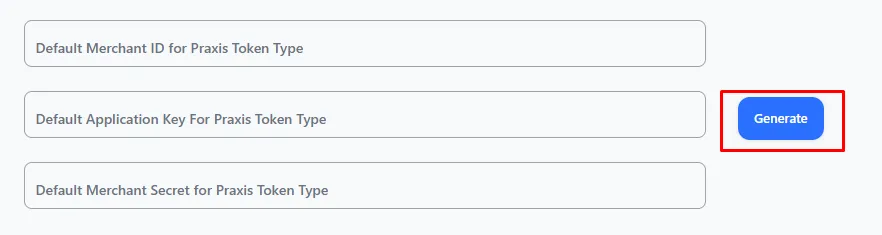
Generate tokens for integration.
When you’re done, select Save.
Troubleshooting
| Problem | What to do |
|---|---|
| Create Merchant stays inactive | Fill in all the main fields. Use the Info button on a field to see what it expects. |
| You’re not sure what a field expects | Select the Info button next to it for a description. |
| Generated tokens don’t appear where expected | Tokens created for the merchant are shown in all of its Requestors. |